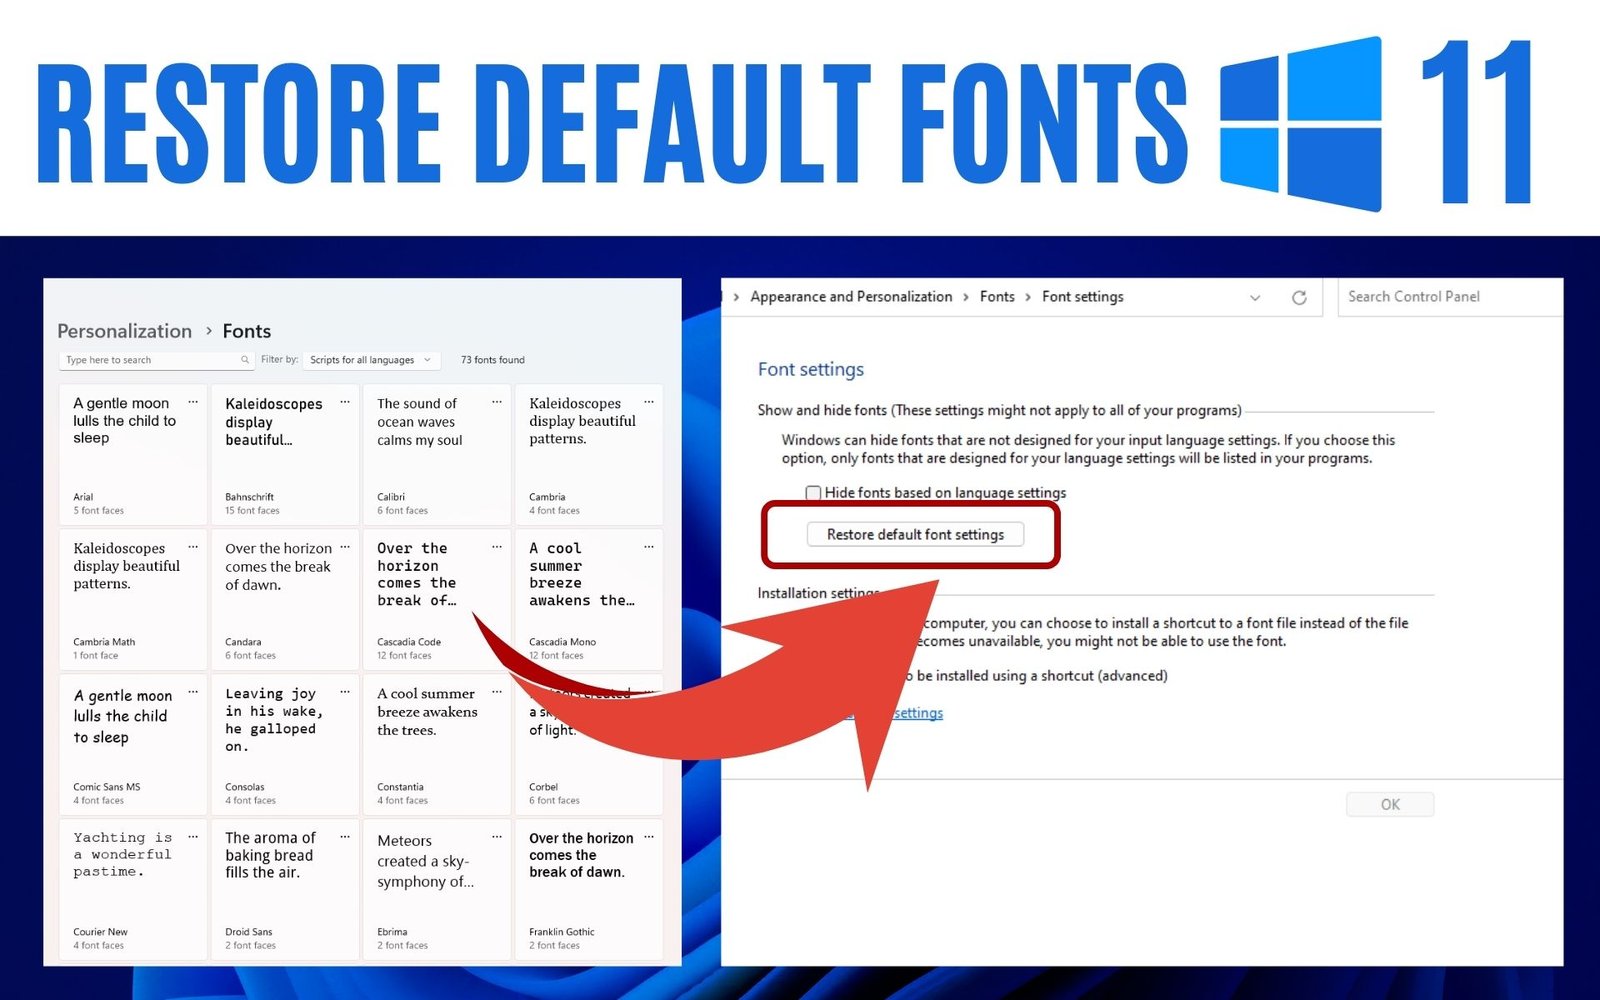
How to Restore Default Fonts in Windows 11 Desktop or Laptop

Restore default fonts in Windows 11: Follow these steps to restore the default fonts in Windows 11 on your desktop or laptop. Open Control Panel, click on "Appearance and Personalization," select "Fonts" under "Personalization," and click on the "Font settings" link. Then, click on "Restore default font settings" and confirm by clicking "Yes". Restart your computer for the changes to take effect. Additional tips include uninstalling recently installed fonts, clearing the font cache, or creating a new user account. For further assistance, feel free to ask. This method is compatible with Dell, HP, Lenovo, Acer, Asus, Samsung, and Microsoft Surface devices.
If the control panel method does not work and your PC is not responding properly, refer to the complete steps below.
Key Points
- ✪ Steps to Restore default fonts in Windows 11
- ✪ Fix restore default fonts settings in Windows 11 not working
- ✪ Tips to prevent font-related problems

Thanks for your feedback!
Your contributions will help us to improve service.
How to restore default fonts in Windows 11
To restore the default fonts in Windows 11 on your desktop or laptop, you can follow these steps:

Step 1: Begin by searching for and opening the Control Panel.

Step 2: In the Control Panel window, locate the "View by" section at the top right corner and select "Category." Then, click on "Appearance and Personalization."

Step 3: Within the next window, find and click on "Change Font Settings." From there, select the option labeled "Restore default font settings."

Step 4: Confirm the restoration: A confirmation dialog box will appear, asking if you want to restore the default font settings. To proceed with the restoration process, click on the "Yes" button.

Step 6: Wait for the restoration process: Windows will now restore the default font settings, which may take a few moments. During this process, the system will revert to the original default fonts.
Step 7: Verify the restoration: Once the restoration process is complete, you will see the default fonts listed on the Fonts page. These are the fonts that come pre-installed with Windows 11.
That's it! Your Windows 11 desktop or laptop should now have the default fonts restored.
Important note: Restoring the default font settings will undo any custom font settings or font changes you have made. It's recommended to back up any important font configurations before proceeding with the restoration process.
How to fix Restore default fonts in Windows 11 not working with the control panel
If the control panel hack is not working and your PC is not responding properly, you can try the following:
| Step | Action |
|---|---|
| 1 | Start your PC in Safe Mode. |
| 2 | Remove the recently installed font from the Fonts folder in the Control Panel. |
| 3 | Restart your PC in normal mode. |
| 4 | Create a new user account and log in to it. |
| 5 | Restore the default font settings from the new user account. |
| 6 | Copy the default font files from the new user account to the Fonts folder of your original user account. |
| 7 | If the issue persists, seek assistance from Microsoft Support. |
Tips to prevent font-related problems in the future:
| No. | Tip |
|---|---|
| 1 | Exercise caution when installing third-party fonts and only install them if necessary. |
| 2 | Verify the compatibility of third-party fonts with your version of Windows. |
| 3 | Make regular system backups before installing new fonts. |
| 4 | Promptly uninstall any fonts causing problems, such as system instability or crashes. |
By following these important steps and tips, you can effectively troubleshoot font-related issues and restore optimal performance to your PC.